shoulder strapping with kinesiology tape
Want to know how to strap shoulder/s with kinesiology tape? Find out how, with the step-to-step guide below.
How do shoulder injuries occur in sports?
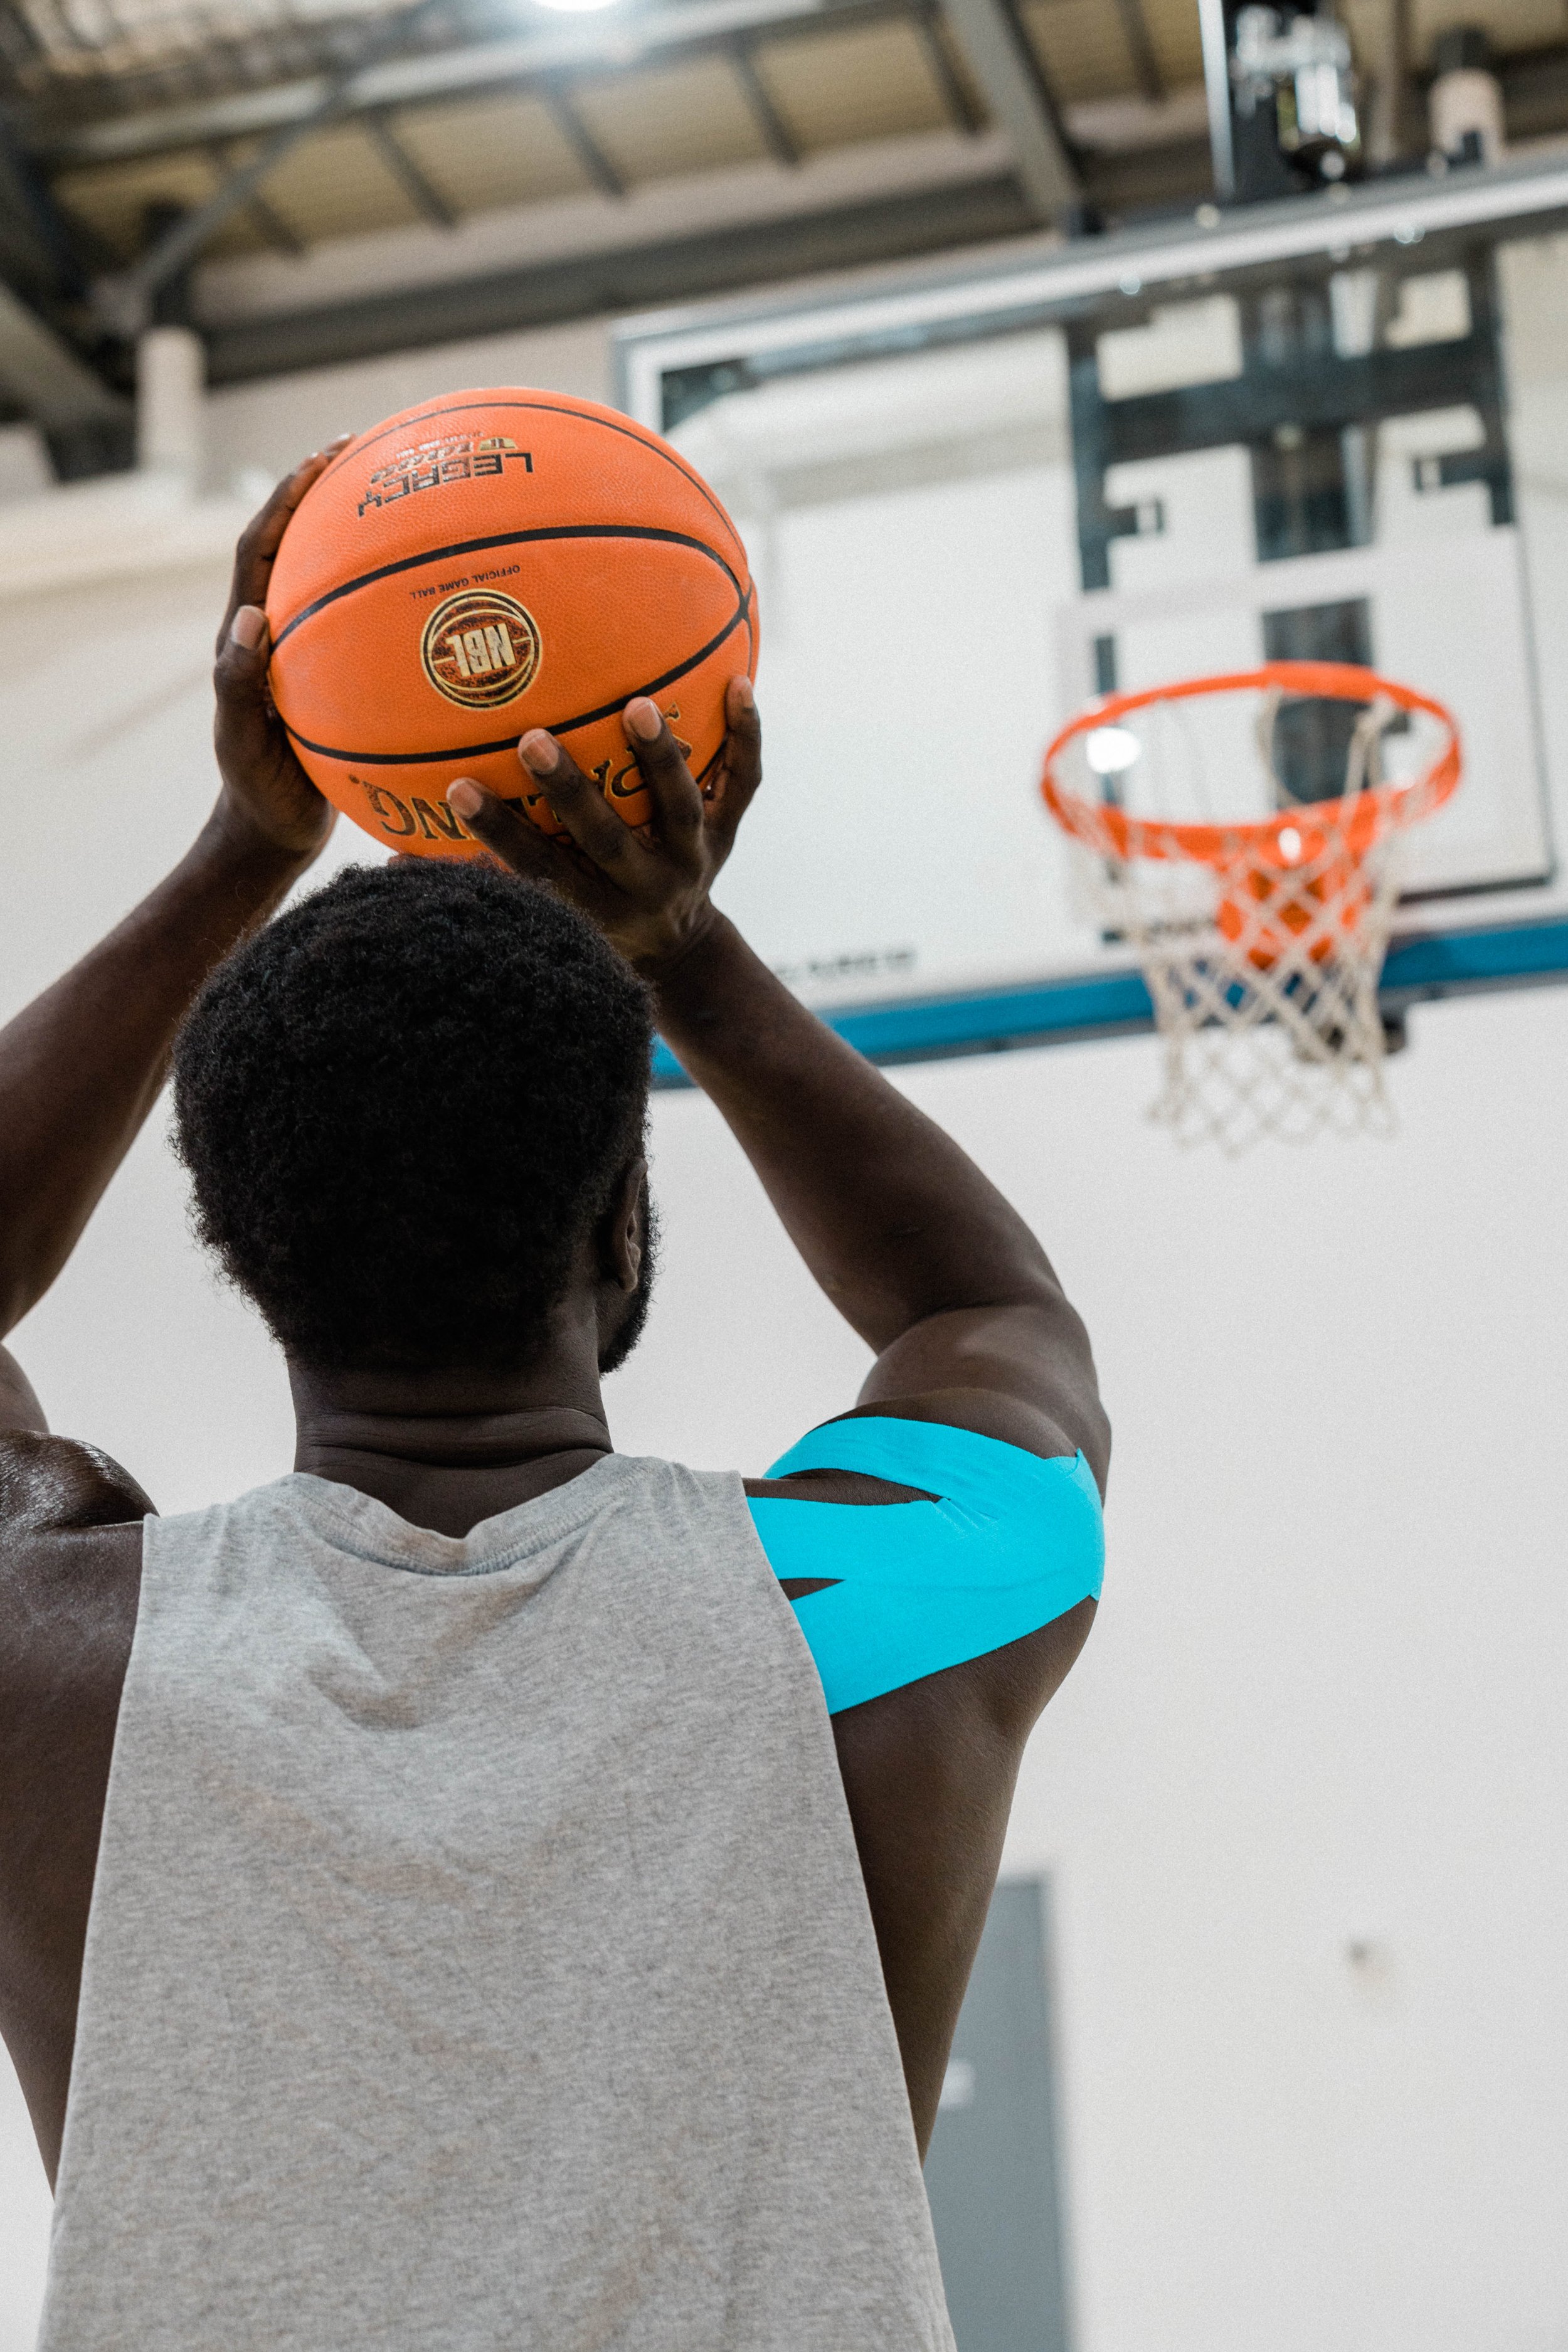
Shoulder injuries are common in sports that require overhead movements, throwing and catching. These sports can include; AFL, Rugby, Netball, Basketball, Tennis, Volleyball etc…
The shoulder joint has the greatest degree of movement however compromises joint stability. The shoulder joint relies on the muscles, ligaments and tendon around the joint to help stabilise it, however injuries occur when there has been impact, trauma or inflammation to those structures. It is often when the muscles don’t work together or in sync that causes shoulder pain or discomfort.
Why would you tape your shoulder?
To encourage the muscles to engage and work together in unison to provide better accuracy, more precise overhead and rotational movements. This is achieved by enhancing the stimulation of shoulder muscles improving elastic recoil quality and joint awareness during activities. Kinesiology tape worn during activities and rehabilitation can manage and prevent injuries. It is important to follow healthcare advice to manage your injuries, with appropriate rehabilitation to strength the muscles around your shoulder joint and upper limb. Taping is a protective equipment to aid your recovery from injury, it should be relied on to help you return to sports or activities.
Simple steps to strapping the shoulder:
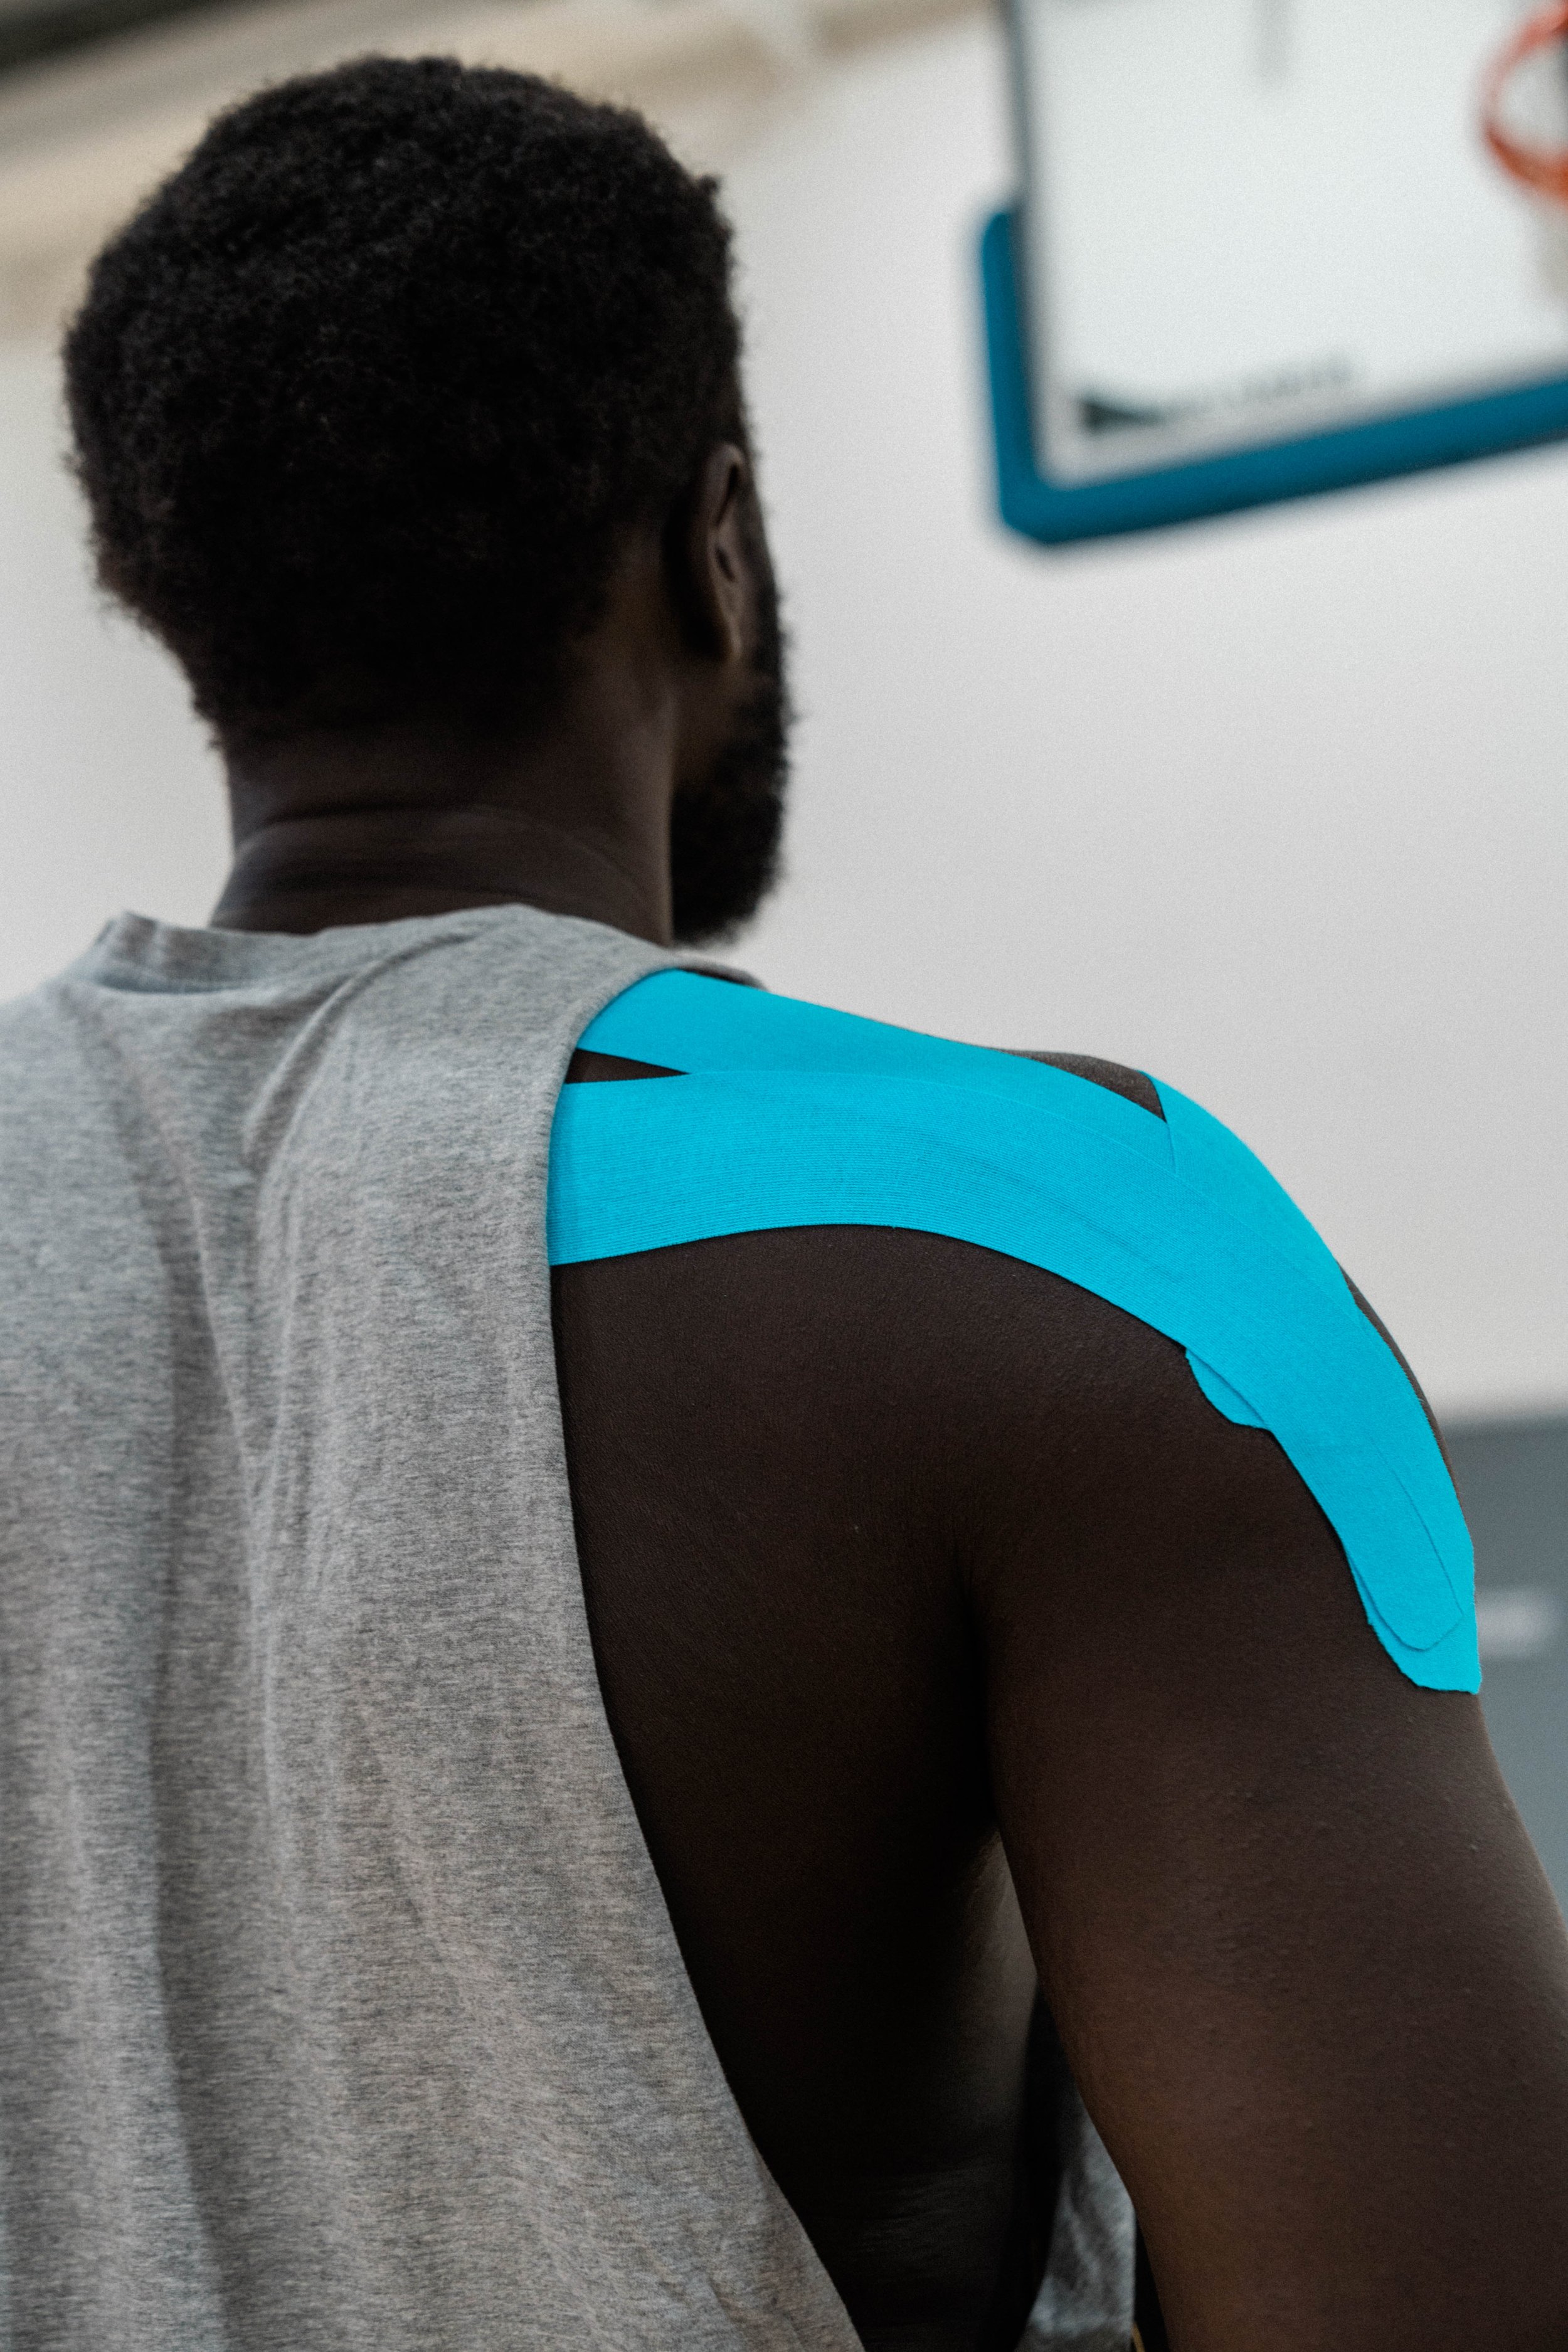
1. Prepare 3 x tapes (2x 15-20cm & 1 x 10cm).
2. Have the athlete seated with shoulders slightly pulled back.
3. Feel along the top of the shoulder blade and place 15-20cm tape horizontally, with a mild pull to the tape. Then anchor to the arm bone.
4. Apply the next 15-20cm tape from the base of the neck horizontally along the upper traps down towards the 1st anchor (i.e., in step 3).
5. Apply the 10cm tape ~1-2 finger width below the middle of the collar bone (where the upper chest muscle is found). Then apply a mild pull upwards towards the shoulder, crossing in front of the shoulder.
6. Then anchor to meet tape 1 & 2.
7. Ask the athlete to relax and move their arm. They should feel a light stretch along the skin, and the shoulder should feel supported.
TIPS:
· Always check the skin before applying tape.
· Look out for any: redness, swelling, bruises, blisters, cuts, burns and other wounds on the skin.
· Seek medical attention if there is active bleeding, or signs of wound not healing.
· Before application; keep skin dry (i.e., no moisturiser or lotion), and reduce hair at the site. This can reduce the effectiveness of the tape to stay on the skin.
· Be in a comfortable position before applying the tape. Often sitting up is preferred.
Click this link below to watch the steps:
HEALTH NOTICE: Please note that the tips and advice provided on this website by no means replace medical advice and treatment. If you have, suspect a health problem or if symptoms persist consult a doctor and your healthcare professional.
References: Brukner.p,Khan. K. Clincial Sports Medicine. 4th ed. McGraw Hill Professional. 2014. 8-25p.